
How to Upcycle Old Pc Parts into a New Build?
Are you tired of your old PC sitting in a corner, collecting dust? Instead of throwing it away or letting it continue to take up space, why not consider upcycling its parts into a new build? With a little creativity and some basic knowledge of computer hardware, you can transform your old PC into something new and exciting. In this article, I will guide you through the process of upcycling old PC parts into a new build, so let’s get started!
Assessing Your Old PC
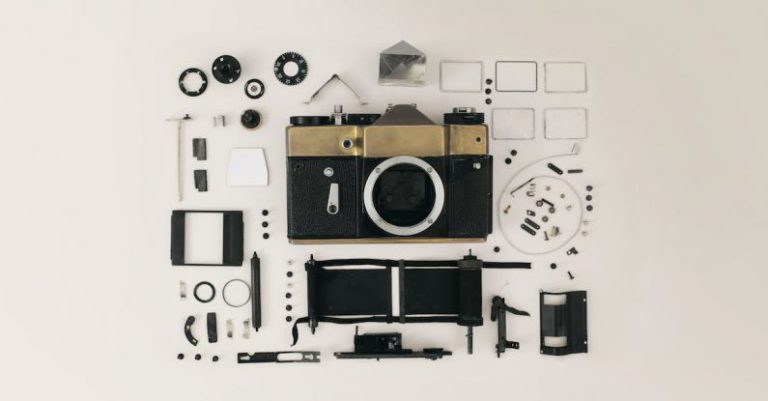
Before you dive into the upcycling process, it’s essential to assess the components of your old PC. Take a close look at each part, such as the motherboard, CPU, RAM, and graphics card, to determine their condition and compatibility with newer hardware. While some parts may still be useful, others might be outdated and need to be replaced.
Identifying Upcycling Opportunities
Once you’ve assessed the components, it’s time to identify the upcycling opportunities. Look for parts that are still in good working condition and compatible with newer hardware. For example, if your old PC has a high-end graphics card, you can reuse it in your new build. Similarly, if the power supply unit is still functioning well, there’s no need to buy a new one.
Planning Your New Build
Now that you’ve identified the parts to upcycle, it’s time to plan your new build. Consider your needs and budget when selecting new hardware components. For instance, if you’re a gamer, focus on getting a powerful CPU and a sufficient amount of RAM. If you’re into video editing, prioritize a high-performance graphics card. Make a list of the components you need, ensuring that they are compatible with the upcycled parts from your old PC.
Assembling Your New Build
Once you have all the necessary components, it’s time to start assembling your new build. Begin by removing the old parts from your old PC, such as the motherboard, CPU, RAM, and graphics card. Take care to disconnect all cables properly and keep track of where each component is connected. Then, install the upcycled parts into the new build, following the manufacturer’s instructions. Finally, connect the new components, such as the motherboard, CPU, RAM, and graphics card, ensuring everything is properly seated and secured.
Testing and Troubleshooting
After assembling your new build, it’s crucial to test and troubleshoot to ensure everything is working correctly. Connect your monitor, keyboard, and mouse to the new build and power it on. Check if the BIOS recognizes all the components and if the operating system boots up smoothly. If you encounter any issues, refer to the motherboard and component manuals for troubleshooting tips.
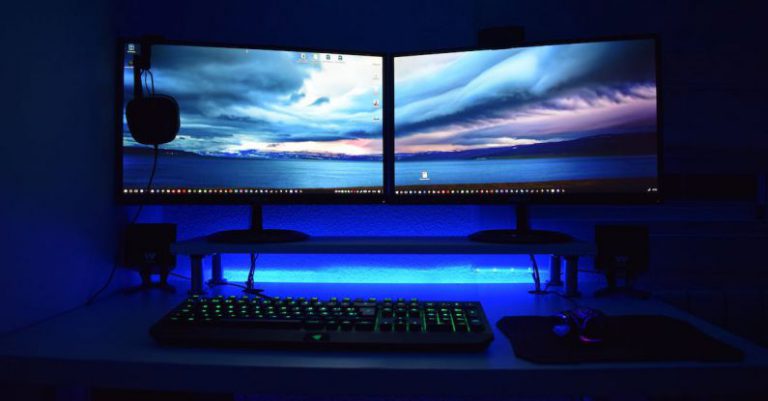
Creating a Unique Look
Upcycling isn’t just about functionality; it’s also an opportunity to create a unique look for your new build. Consider adding custom cables, LED lighting, or a custom case to give your PC a personalized touch. With a little creativity, you can transform your upcycled build into a visually appealing piece of art.
In conclusion, upcycling old PC parts into a new build is a fantastic way to breathe new life into your old hardware. By assessing the components, identifying upcycling opportunities, planning your new build, assembling it, and testing and troubleshooting, you can create a functional and unique PC that meets your needs and budget. So, don’t let your old PC go to waste – upcycle it into something new and exciting!